By Jared Schenkels, DVM, The Dairy Authority
Every calf born on a dairy requires swift and consistent attention to provide it with the best possible chance of a healthy and productive life.
The 5 fundamentals of “Day One” calf processing include: colostrum, identification, dehorning, vaccination, and navel dipping. In this piece, we’ll examine the best methods for identifying calves.
Proper identification of a dairy calf is important for record-keeping, monitoring health and performance, and ensuring traceability throughout the animal's life. Here are the steps to properly place identification in a dairy calf:
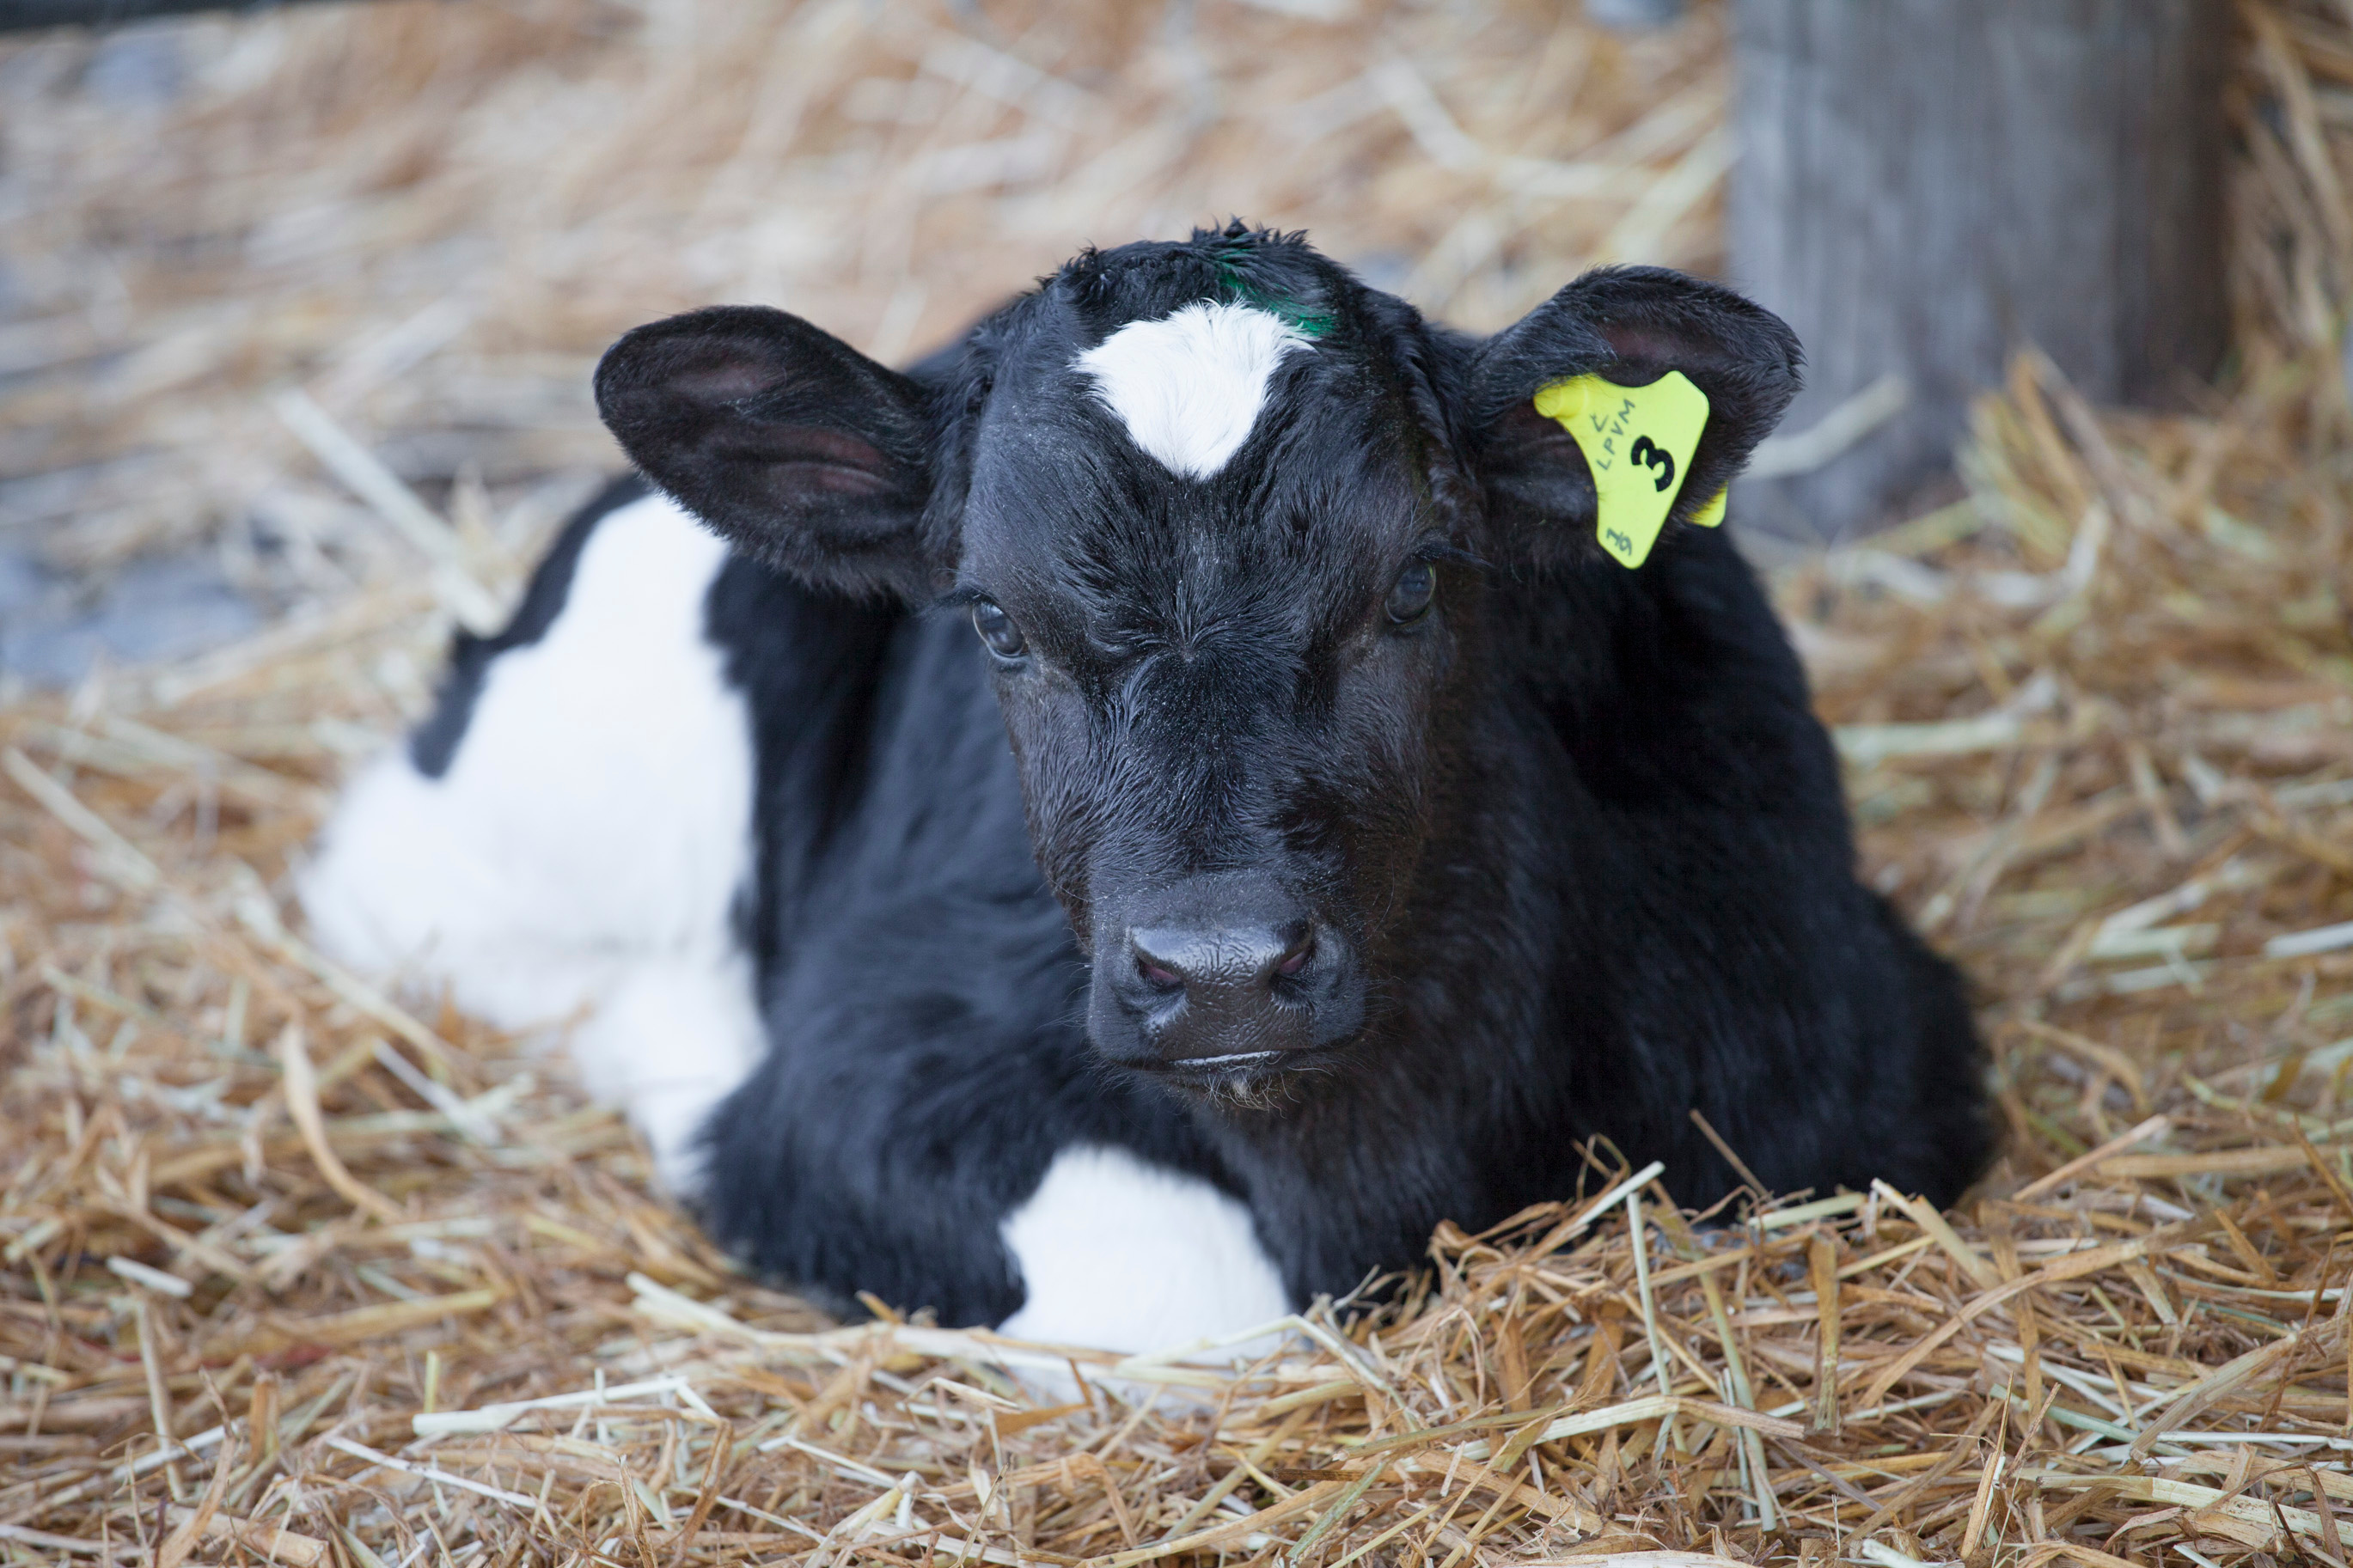
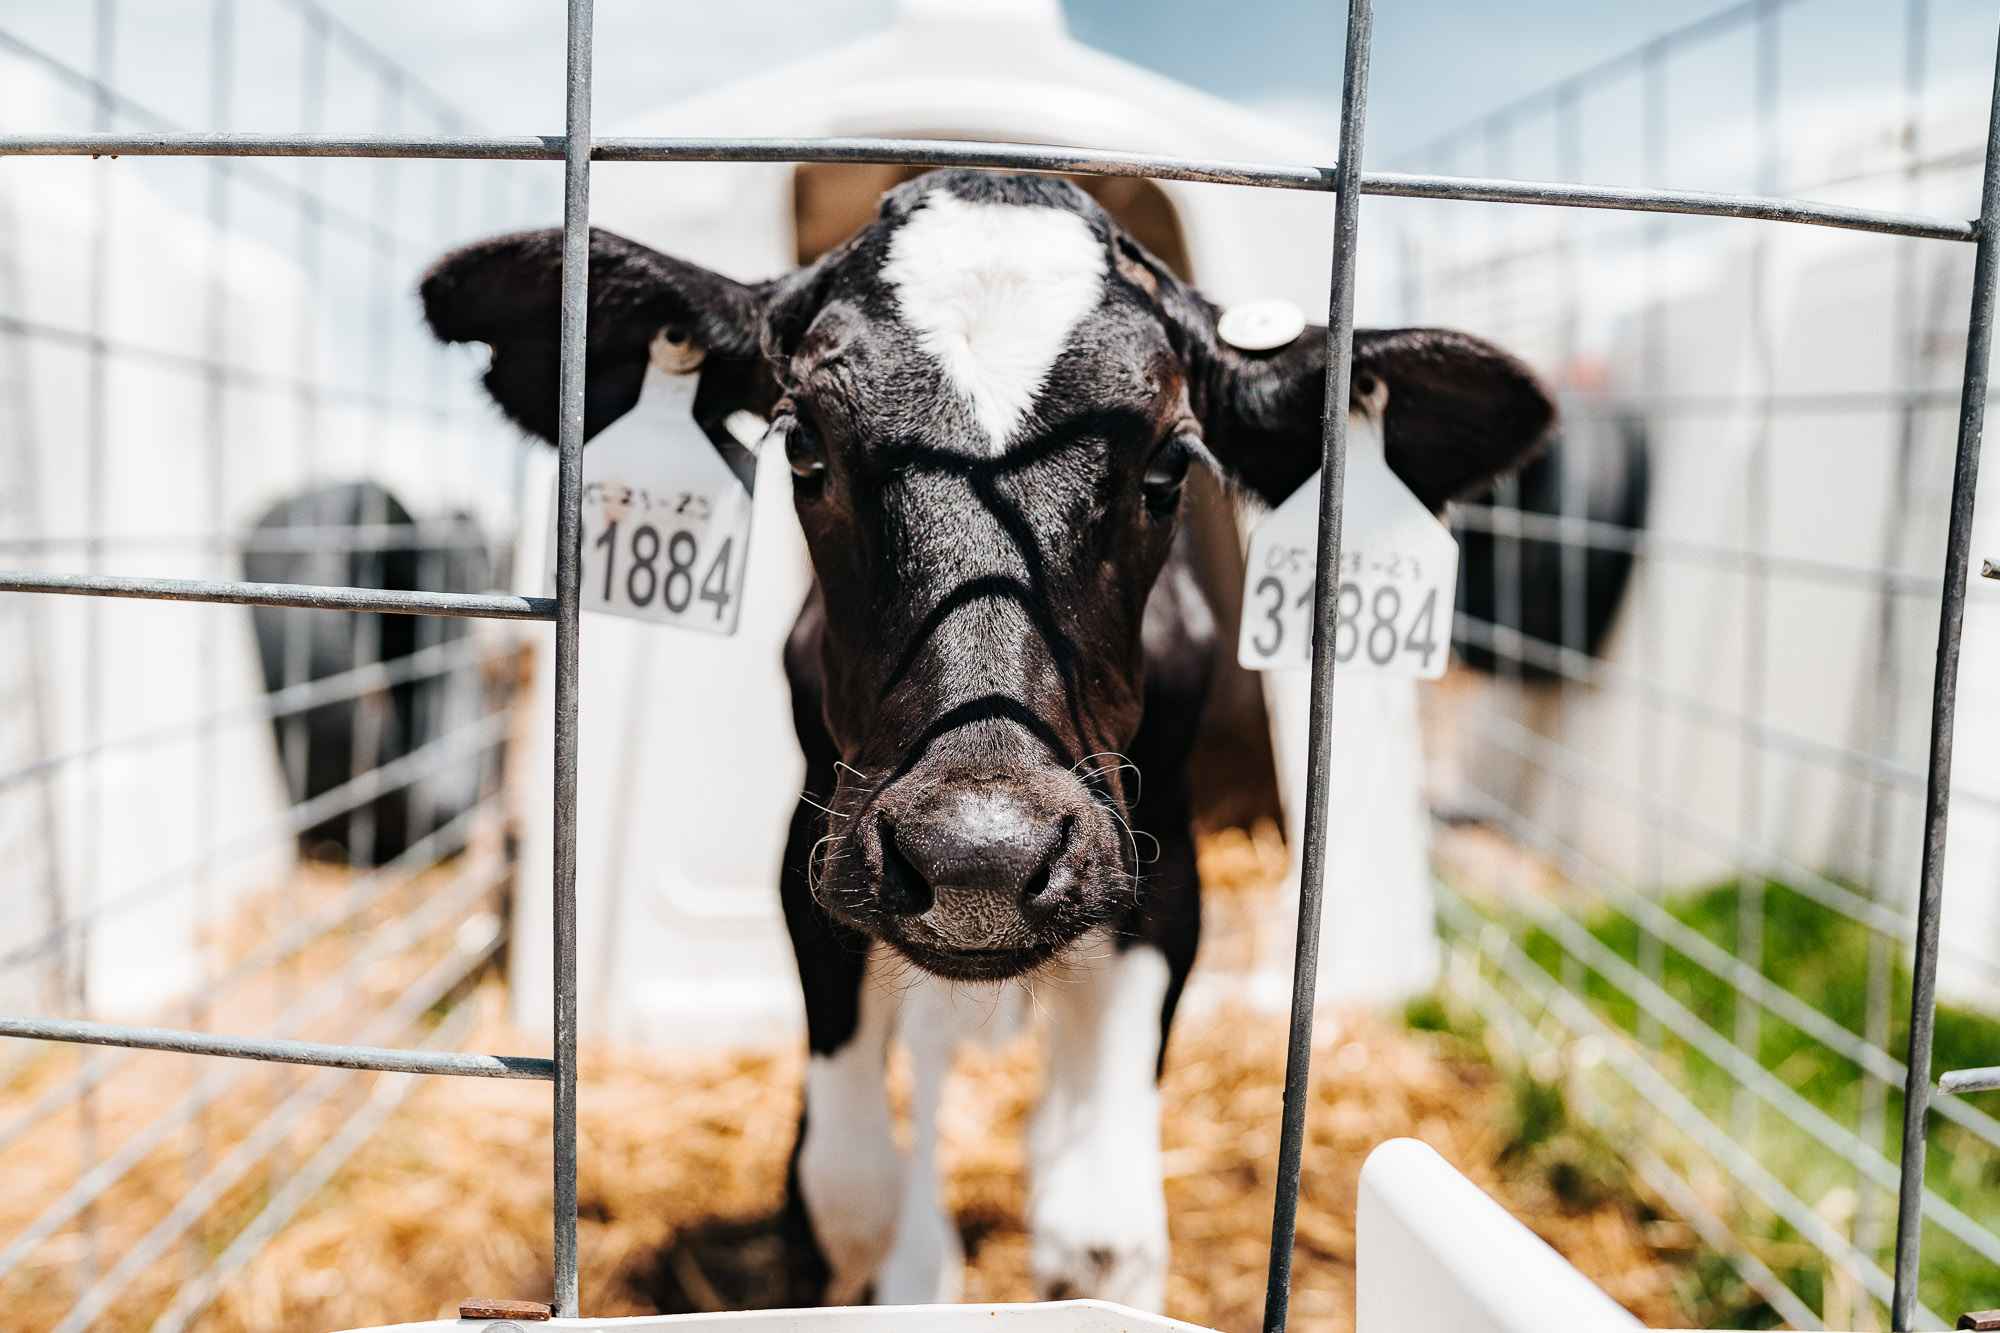
- Choose the type of identification: There are several options for identifying dairy calves. All calves should have an official RFID ear tag placed in the left ear. (The left ear is on the left side of the animal when it is viewed from behind). The left ear is used because the U.S. Department of Agriculture (USDA) reserves the right ear for official calfhood vaccination tattoos. Plastic ear tags come in a variety of sizes, colors and designs. Our preference at The Dairy Authority is to have an EID and two daggle tags which include the calves’ ID and source dairy name. This allows each individual animal to be rapidly identified.
- Prepare the ear: Before placing the ear tag, the ear should be cleaned and disinfected to prevent infection. This can be done with a clean cloth and disinfectant solution.
- Select the placement location: The identification should be placed in the ear of the calf. The location of the ear tag should be in the middle of the ear, with the tag perpendicular to the head of the calf. The tag should be placed in the earlobe, which is the soft part at the bottom of the ear. Avoid placing the tag too close to the edge of the ear or in the cartilage of the ear. (See Figure 1).
- Apply the ear tag: The ear tag should be applied using a special tool designed for this purpose. The tool will punch a hole in the ear and attach the ear tag. The ear tag should be snug but not too tight, and should not be able to slip out of the hole.
- Record the identification: Once the ear tag is placed, record the identification number in the calf's record book or computer system. This will help track the calf's health and performance throughout its life.

In our final discussion of Day One protocols, we’ll look at dehorning, vaccination, and navel care.